CURRENTLY VIEWING |
||||||
|
HUNTER HUNTED
Placed a CG radioactive creature into live footage and blew up an existing bridge
|
||||||
 |
||||||
|
@
projects > vfx & animations
|
||||||
|
SECTION MENU
|
||||||
This is a visual effects video where we placed in a CG radioactive creature into live footage and blew up an existing bridge.
A radioactive creature (the hunter) goes after a thief who took away its valuables. Little did it realize that everything was staged and it was being hunted instead.
The final video for Hunter Hunted
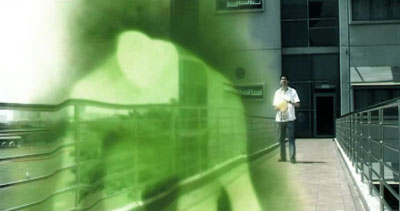
The creature lands in the escape path of the thief
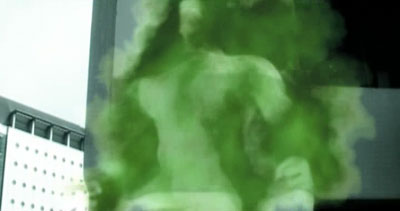
The creature stands up, turns around and gets ready to get back its valuable
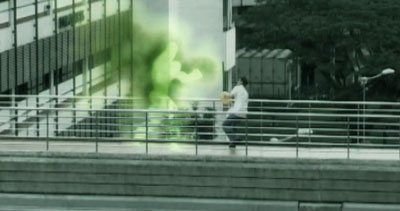
A fight occurs on top of the bridge
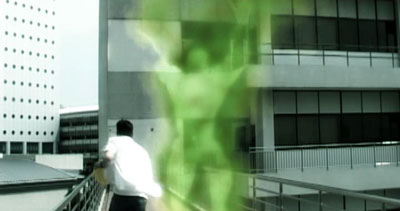
The thief manages to run past the creature…
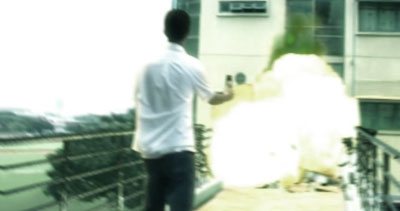
and activates the bomb which he has planted
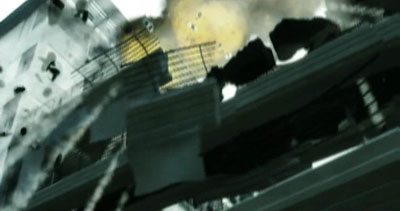
The bridge collapses
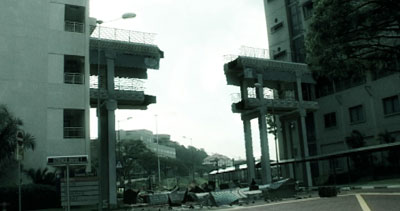
The bridge with the middle portion destroyed
Since this is a group project, it is essential that we do good planning in the pre-production phase so that everyone can agree with the ideas. We can also then refer to the agreed materials when we are working on our parts.
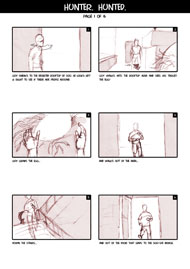
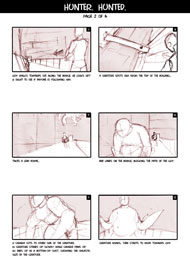
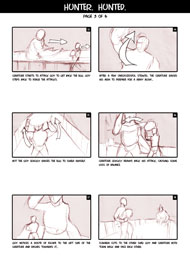
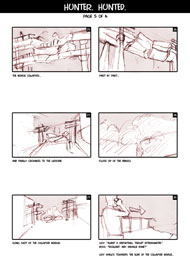
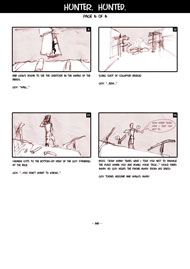
This is the storyboard which we have created:
Note that during the pre-production phase, we still could not decide on the final design of the creature. I wanted him to be a fat creature initially and that’s why the creature is fat in this storyboard. A few scenes were also removed in the final video due to time constrain towards the end of the project.
We also created a pre-visualization of the video to get a sense of the timing. This is extremely useful when filming the video because the actor needs to know how the imaginary creature is going to act and how fast it is moving. I had to create the low resolution proxies of the characters and animate them in the pre-viz.
Pre-visualization of Hunter Hunted
First of all, the creature model was created. This is basically a re-use of the humanoid model which I modelled for the OGRE demo for the Muskeelar project (muscle plugin for real-time applications). Adjust the proportions a bit and we have another creature (*cough*).
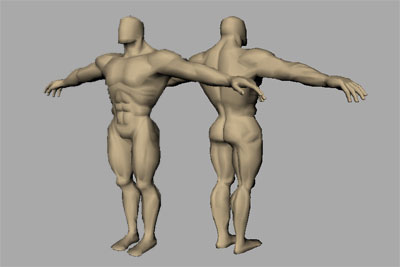
The creature model
I wrote a script that built the rig for me automatically by just clicking some buttons. It comes complete with advanced controls like IK/FK switches, broken hierarchy etc. There are also automated features like auto-clavicle which served pretty well during the animation phase.
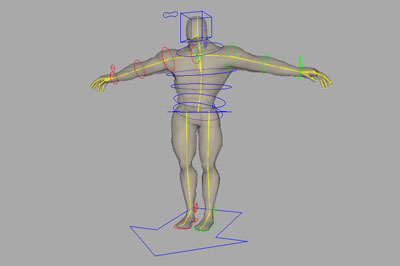
The rig of the model with the control curves
The muscles were placed into the skeleton hierarchy using Muskeelar, the muscle plugin which I have scripted. Only fusiform-shaped muscles can be created, so muscles of other shapes have to be approximated.
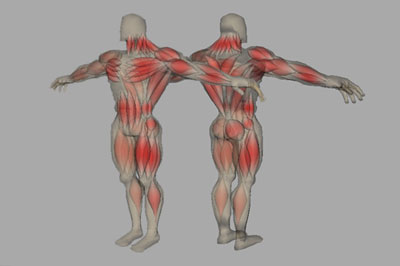
The full body muscle rig
The muscle system was used in an alternative way: to create jelly-like effect instead of nice looking skin deformation. This was done by setting the stiffness and damping of the muscles to really low values. Below is a simulation test that we have done.
Jelly-like effects using low stiffness and damping on the muscles
Low resolution proxies were then generated automatically using another script which I have written. It basically generates cylinders based on the joints in the joint hierarchy, and parents those cylinders to the respective joints (as opposed to smooth binding, which is more expensive). These cylinders are then deformed automatically to try to match the shape of the skin. These low resolution proxies are great for fast playback of the animation during the animation phase.
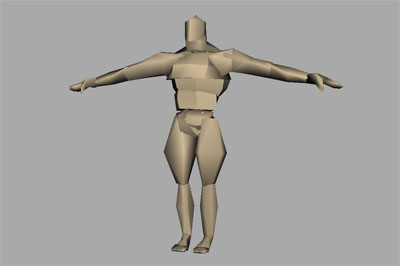
The low resolution proxies (used for faster animation preview)
The creature was then animated by doing pose-by-pose keyframing.
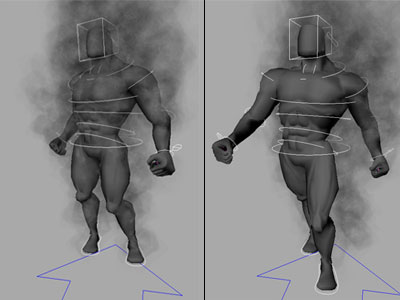
Animation of creature via pose-by-pose keyframing
We generated smoke from the creature by emitting sprite particles from the mesh and mapping smoke maps onto them. Three passes were rendered using the hardware render buffer and composited to achieve the final look.
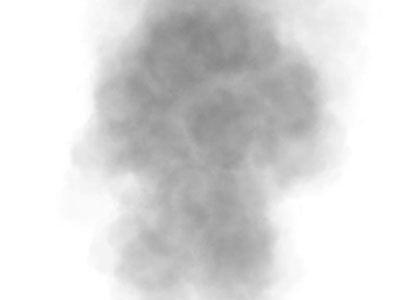
Smoke Layer: The base layer that gives the main smoke volume
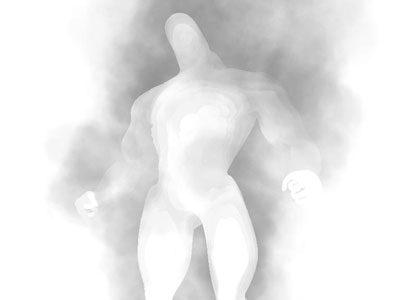
Mask Layer: This is the same as the smoke layer but with the creature as a mask.
This layer is composited on top of the smoke layer so that the creature can appear translucent.
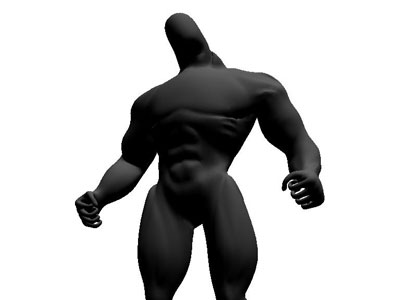
Creature Layer: This is not composited onto the previous two layers because we did not want to see the details on his body. This layer is only used as a map for a distortion filter which creates a refraction effect on the creature.
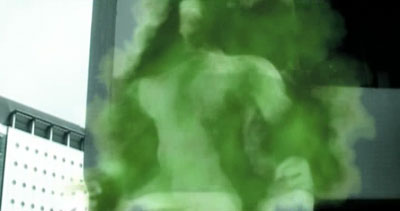
The Composite: This is how the final composite looks like in the final video
First the bridge was modelled and textured. It was based off the actual measurements of the real bridge.
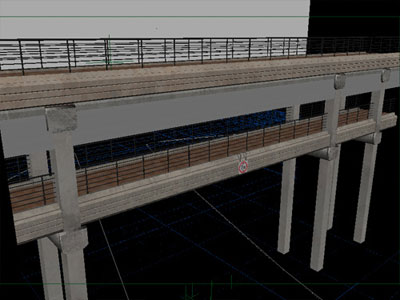
The bridge model with texture
Next, part of the bridge was broken up using the BlastCode plugin. The different pieces of the bridge were sculpted using a series of deformers to give it a more natural look (v.s. a straight-edged CG look)
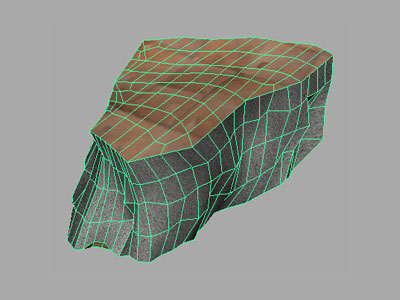
Sculpting of inidividual broken pieces for a more natural look
The falling of the different pieces was done using rigid body simulation systems in Maya and BlastCode.
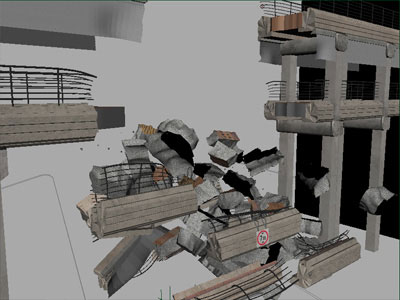
Rigid body simulation of bridge collapse
The railing deformation was done via a series of deformers. First a FFD is applied to the bridge and then the FFD is smooth bound to joints. This setup gave us the controls we neede to deform the railings using joint animation.
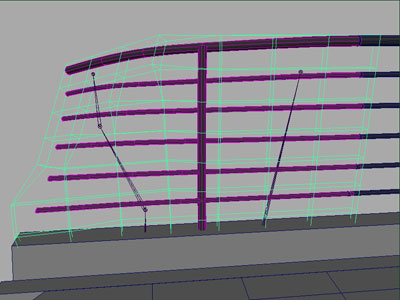
Deforming the railings using FFDs and smooth bind
Smoke, fire and dust were simulated using Maya’s particle system and Maya Fluid.

Dust and smoke simulation
During filming, we captured the HDRI of the surrounding using a chrome ball and used it to light the CG scene for a realistic look.
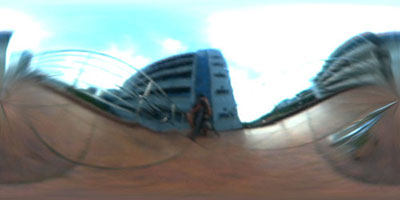
HDRI of surroundings
The CG bridge was rendered using Mental Ray with Final Gather.
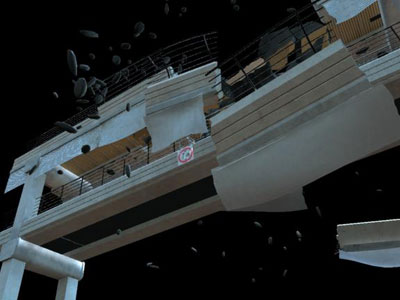
Example render of bridge
Before we can composite the CG bridge into the scenes, we need to remove the existing bridge from the footage first. Most of our footages did not have any camera motion, so there was no need for any computer vision techniques. Simple image manipulation in Photoshop was sufficient.
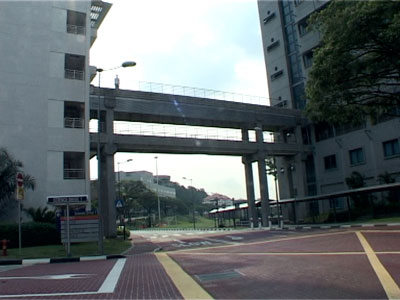
The original footage with the real bridge
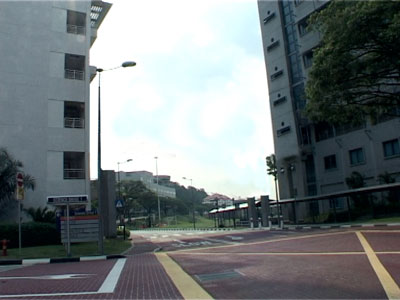
The edited footage with the real bridge removed
Finally, the CG bridge was composited onto the edited footage.
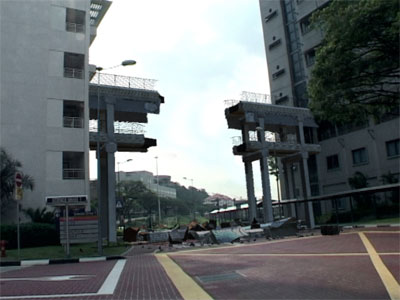
Final composite of collapsed bridge
Skeel Lee: Pre-visualization, modeling of creature, rigging, jelly-like simulation using self-scripted muscle plugin, animating creature, generating smoke on creature, texturing of bridge, finalizing of storyboard, co-directing
Neo Jiet Shern: Modeling of bridge, destruction/simulation of bridge, explosion effects (fire/smoke/dust), obtaining HDRI, matchmoving, compositing, storyboard draft, co-directing
Goh Cheng Teng: Removal of existing bridge from real footage, actor
